How to Resolve Canon Printer Won’t Connect to Wi-Fi: A Comprehensive Guide
Setting up a wireless Canon printer can make printing tasks much easier by allowing you to print documents from multiple devices without needing to physically connect a cable. However, connectivity issues can sometimes arise, causing frustration. If your canon printer won’t connect to wifi, there are a variety of troubleshooting steps you can take to resolve the problem. This article provides a detailed guide to help you overcome the most common Wi-Fi connection issues with Canon printers.
Common Causes of Canon Printer WiFi Connection Problems
Before diving into specific troubleshooting steps, it’s essential to understand the most common reasons why your Canon printer might not connect to a Wi-Fi network:
- Weak Wi-Fi Signal: If the printer is located too far from the Wi-Fi router, it might not be able to maintain a stable connection.
- Incorrect Wi-Fi Password: Entering an incorrect Wi-Fi password during the setup process will prevent the printer from connecting.
- Router Settings: Certain router settings, such as firewall configurations or network settings, can block the printer from connecting to the network.
- Outdated Printer Firmware: If your printer’s firmware is outdated, it may not work correctly with your network.
- IP Address Conflicts: Sometimes, multiple devices may have conflicting IP addresses on the same network, causing connection issues.
- Printer Drivers: Outdated or incompatible printer drivers can cause connectivity issues, especially when you try to print from a computer or mobile device.
Let’s go through the step-by-step troubleshooting methods to resolve the Wi-Fi connection issues with your Canon printer.
Do you want to visit Char Dham? Char Dham Travel Agent is the best place to plan your Char Dham tour. You can book the tour from here.
Step 1: Restart Your Printer and Wi-Fi Router
One of the simplest but most effective troubleshooting methods is to restart both your Canon printer and your Wi-Fi router. Sometimes, network issues can be resolved by simply resetting the devices involved.
How to Restart Your Devices:
- Turn off your Canon printer: Press the power button on the printer to turn it off. Wait for about 30 seconds, then turn it back on.
- Restart your Wi-Fi router: Unplug the router from the power source for about 30 seconds, then plug it back in and allow it to reboot fully.
- Reconnect the printer to the network: After both devices have restarted, follow the instructions to reconnect your Canon printer to the Wi-Fi network (we will cover this process in detail in Step 2).
If restarting the devices doesn’t solve the problem, proceed to the next troubleshooting step.
Step 2: Reconnect Your Canon Printer to Wi-Fi
When your Canon printer won’t connect to Wi-Fi, the first step is to try reconnecting it to the network. There are two main methods for connecting a Canon printer to Wi-Fi: using the WPS (Wi-Fi Protected Setup) button or manually configuring the connection through the printer’s control panel.
Would you like to visit Indiar? A tour operator in India is the best place to plan your tour. You can book a tour from here.
Using the WPS Button:
WPS is a feature that allows you to easily connect devices to a Wi-Fi network without entering the network credentials.
- Turn on your Canon printer.
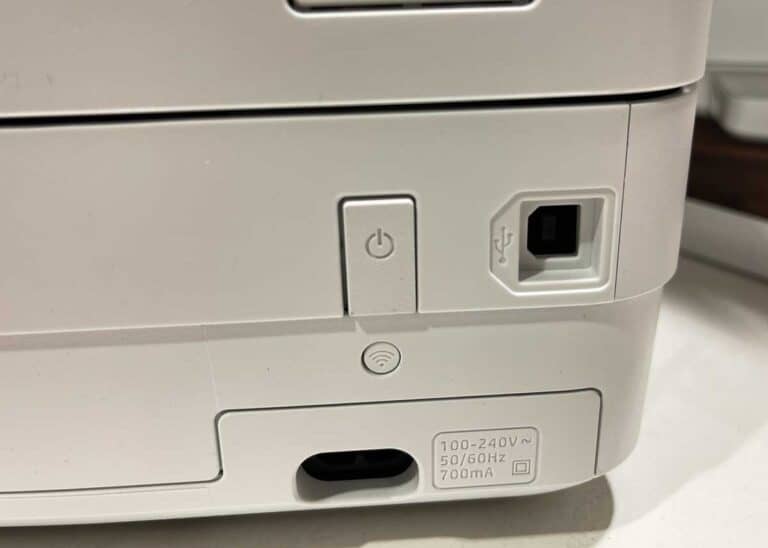
- Activate WPS on the printer: Press the Wi-Fi button on your Canon printer until the Wi-Fi light starts blinking.
- Activate WPS on your router: Within two minutes of pressing the Wi-Fi button on the printer, press the WPS button on your router. The WPS button is usually located on the back or side of the router.
- Wait for the connection to establish: The printer will automatically connect to the network. Once connected, the Wi-Fi light on your printer will stay on without blinking.
Manual Wi-Fi Setup (Without WPS):
While your router does not support WPS, you can manually connect your Canon printer to Wi-Fi by following these steps:
- Access the printer’s control panel: On most Canon printers, press the Menu or Setup button.
- Navigate to the wireless settings: Use the arrow buttons to navigate to the Wireless LAN Setup option and press OK.
- Select your Wi-Fi network: The printer will search for nearby Wi-Fi networks. When you see your Wi-Fi network name (SSID), select it and press OK.
- Enter your Wi-Fi password: Use the arrow keys to select characters from the on-screen keyboard and enter your Wi-Fi password. Make sure the password is correct, including any uppercase and lowercase letters.
- Confirm the connection: Once you’ve entered the correct password, the printer will attempt to connect to the network. If successful, the Wi-Fi light on your printer will stop blinking and remain solid.
If you successfully reconnect the printer, try printing a test page to confirm that the connection is working. If not, move on to the next step.
Would you like to visit Haridwar? Travel agents in Haridwar are the best place to plan your trip. You can book your tour right here.
Step 3: Check the Printer and Router Placement
The placement of your Canon printer in relation to your Wi-Fi router can significantly affect its ability to connect to the network.
Tips for Optimizing Placement:
- Move the printer closer to the router: If your printer is too far from the router or separated by thick walls or metal objects, the Wi-Fi signal may not be strong enough. Place the printer within a reasonable range (ideally within 10-20 feet) of the router.
- Avoid interference: Keep the printer away from other devices that may cause interference, such as microwaves, cordless phones, and Bluetooth devices.
- Reposition the router’s antennas: If your router has external antennas, try adjusting them to optimize signal strength.
After adjusting the placement, try reconnecting the printer to Wi-Fi following the steps outlined in Step 2.
Step 4: Update Printer Firmware and Drivers
Outdated firmware or drivers can lead to Wi-Fi connectivity issues. Ensuring that your printer’s firmware and drivers are up to date can resolve many problems.
Update Printer Firmware:
- Visit Canon’s website: Go to the official Canon support website and locate the firmware update section for your specific printer model.
- Download and install the update: Follow the instructions provided by Canon to download and install the firmware update.
- Restart the printer: After the update is installed, restart your printer to apply the changes.
Update Printer Drivers:
If you’re using a computer to print wirelessly, outdated drivers may prevent the printer from connecting to Wi-Fi.
- Go to Canon’s support website: Find the drivers section for your Canon printer model.
- Download the latest drivers: Download and install the appropriate drivers for your operating system (Windows or macOS).
- Install the drivers: Follow the on-screen instructions to complete the installation.
- Test the connection: After updating the drivers, try printing a test page to ensure the printer is connected to Wi-Fi.
Step 5: Check Your Wi-Fi Network Settings
Sometimes the issue lies with your Wi-Fi network settings rather than the printer itself. Certain router settings may block your printer from connecting to the network.
Check Firewall and Security Settings:
- Log into your router’s settings: Open a web browser and enter your router’s IP address (this can usually be found on a label on the router itself).
- Disable firewall temporarily: Routers often have built-in firewalls that could block your printer. Try disabling the firewall temporarily and then reconnect the printer to Wi-Fi.
- Check security settings: Ensure that your router is not using outdated security protocols, such as WEP. Modern Canon printers require WPA or WPA2 security for Wi-Fi connections.
Assign a Static IP Address:
If your router’s dynamic IP address assignment (DHCP) is causing conflicts, assigning a static IP address to your printer can help resolve the issue.
- Log into the router’s settings.
- Find the DHCP settings: Navigate to the section where you can assign static IP addresses.
- Assign a static IP to your printer: Find your Canon printer’s MAC address (usually listed in the printer’s network settings) and assign a static IP address to it.
Step 6: Perform a Factory Reset on the Printer
If none of the above steps resolve the problem, performing a factory reset on your Canon printer may help.
How to Perform a Factory Reset:
- Access the printer’s settings menu: On the printer’s control panel, press the Menu or Setup button.
- Navigate to the Reset option: Use the arrow keys to find the Reset Settings option and select OK.
- Confirm the reset: The printer will restore its settings to the factory defaults. After the reset, try reconnecting the printer to your Wi-Fi network following the steps outlined in Step 2.
Conclusion
Experiencing issues when connecting your Canon printer to Wi-Fi can be frustrating, but most problems can be resolved through simple troubleshooting steps. Whether it’s restarting your devices, moving the printer closer to the router, or updating firmware and drivers, this guide covers the most effective methods to get your Canon printer connected to Wi-Fi.
If these steps do not resolve the issue, it might be worth reaching out to Canon’s customer support for further assistance. However, in most cases, following the guidelines above will help you resolve the problem and restore your printer’s Wi-Fi connectivity.