

5 Essential Fixes for Common Toro Stand-on Mower Issues
5 Essential Fixes for Common Toro Stand-on Mower Issues
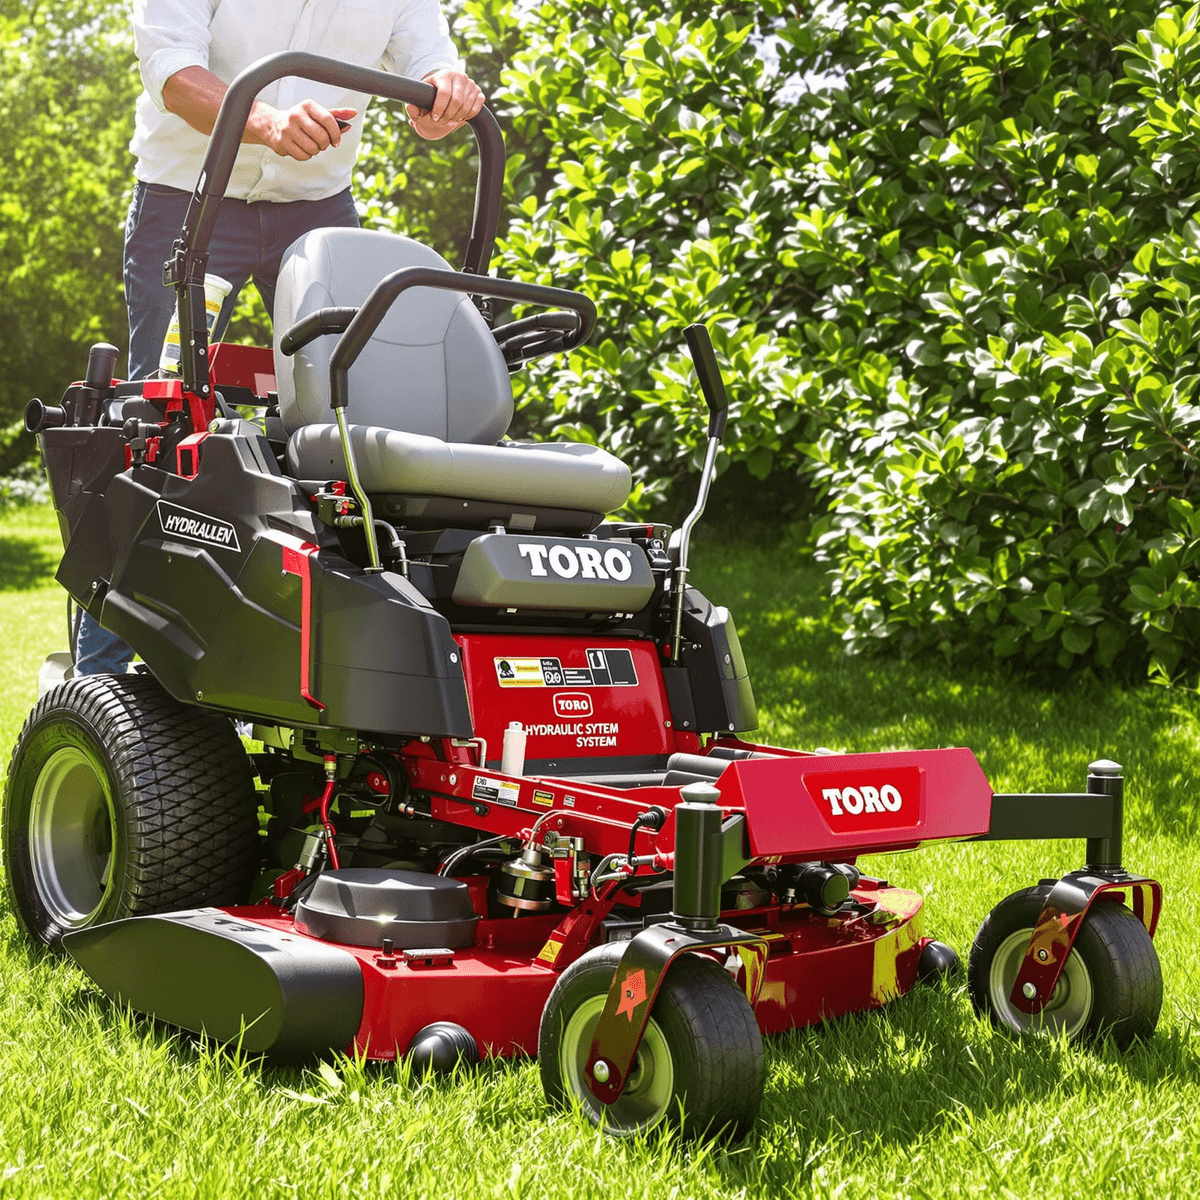
Toro stand-on mowers have become the go-to choice for professional landscapers seeking efficiency and precision in their daily operations. These powerful machines combine the maneuverability of walk-behind mowers with the speed of ride-on equipment, making them ideal for both residential and commercial properties.
Why Toro Stand-on Mowers Stand Out:
- Superior visibility for operators
- Exceptional handling in tight spaces
- Quick mount/dismount capability
- Reduced operator fatigue
Your Toro stand-on mower represents a significant investment in your landscaping business. Like any professional equipment, these machines require regular attention to maintain peak performance. Understanding common issues and implementing timely fixes can prevent costly downtime and extend your mower’s lifespan.
Do you want to visit Char Dham? Char Dham Travel Agent is the best place to plan your Char Dham tour. You can book the tour from here.
This guide walks you through five prevalent Toro stand-on mower problems and provides practical solutions to keep your machine running at its best. Whether you’re dealing with hydraulic issues or engine troubles, you’ll find actionable steps to address these challenges and maintain your mower’s reliability.
1. Hydraulic Problems
The hydraulic system is like the engine of your Toro stand-on mower, controlling how it moves and operates the blades. It’s a complex system made up of pumps, motors, and fluid lines that converts mechanical energy into fluid power, allowing for smooth operation and precise control.
Common Signs of Hydraulic Issues:
- Growling or whining noises during operation
- Reduced speed or power on one side
- Sluggish response to controls
- Unusual heat buildup in the system
- Visible fluid leaks or low fluid levels
Diagnosing Hydraulic Problems
1. Visual Inspection
- Check hydraulic fluid levels
- Look for signs of leaks around fittings and hoses
- Inspect fluid color (dark or milky fluid indicates contamination)
2. Performance Testing
- Start the mower on level ground
- Test forward and reverse movement
- Check turning radius in both directions
- Listen for unusual sounds during operation
3. System Pressure Check
- Install pressure gauges on test ports
- Compare readings to manufacturer specifications
- Note any significant pressure differences between sides
Essential Maintenance Practices
Regular maintenance prevents costly hydraulic system failures:
Would you like to visit Indiar? A tour operator in India is the best place to plan your tour. You can book a tour from here.
- Change hydraulic oil every 500 operating hours
- Replace hydraulic filters according to schedule
- Clean cooling fins to prevent overheating
- Tighten loose fittings promptly
- Use manufacturer-recommended hydraulic fluid
- Keep the system free from contamination
- Store mower in covered areas to protect hydraulic components
Quick Fixes for Common Issues
- Bleed air from the system after fluid changes
- Clean or replace clogged filters
- Adjust bypass valves if experiencing power loss
- Replace worn seals to prevent leaks
- Flush the system if fluid appears contaminated
A well-maintained hydraulic system doubles your mower’s lifespan and ensures consistent performance. Regular inspections catch minor issues before they develop into major repairs.
2. Tire Wear and Traction Loss
The performance of your Toro stand-on mower is greatly influenced by the condition of its tires. Various factors can lead to premature tire wear, which can create significant challenges for landscaping professionals.
Common Causes of Tire Wear:
- Incorrect tire pressure leading to uneven wear patterns
- Operation on rough or abrasive terrain
- Aggressive turning maneuvers
- Extended exposure to harsh weather conditions
- Chemical exposure from fertilizers and lawn treatments
When dealing with difficult landscapes, proper tire maintenance becomes crucial. A mower with worn tires has difficulty staying stable on slopes, which can create unsafe operating conditions. You’ll also notice less control during tight turns, especially when navigating around landscape features or trees.
Would you like to visit Haridwar? Travel agents in Haridwar are the best place to plan your trip. You can book your tour right here.
Warning Signs of Tire Issues:
- Visible cracks in the sidewalls
- Uneven tread wear patterns
- Bald spots or exposed tire cords
- Frequent loss of air pressure
- Decreased performance on inclines
- Vibration during operation
Essential Tire Maintenance Tips:
- Check tire pressure weekly using a reliable gauge
- Maintain manufacturer-recommended PSI levels
- Rotate tires every 100-150 operating hours
- Clean tires after exposure to chemicals
- Store mower in covered area when not in use
Optimal Operating Practices:
- Avoid sharp turns on concrete surfaces
- Reduce speed when mowing wet grass
- Maintain steady speed on slopes
- Keep turns wide and controlled
- Distribute weight evenly during operation
For maximum tire longevity, inspect your equipment before each use. Catching wear issues early prevents costly downtime and ensures consistent cutting quality. When replacement becomes necessary, invest in high-quality tires designed specifically for your Toro model.
Pro Tip: Keep a maintenance log tracking tire rotations, pressure checks, and wear patterns. This data helps identify potential issues before they affect your mower’s performance.
3. Engine Starting Issues
Starting problems with your Toro stand-on mower can be really frustrating and can stop your workday completely. These issues usually come from three main parts: problems with the fuel system, ignition issues, or battery complications.
Fuel System Problems
Here are some common fuel system problems that can prevent your mower from starting:
- Stale fuel creates deposits in the carburetor
- Water contamination in the fuel tank
- Clogged fuel filters restrict flow
- Dirty carburetor jets prevent proper fuel atomization
Your first step in diagnosing the issue is to check the quality of the fuel. Fresh fuel should look clear and have a strong smell of gasoline. If you notice a sour smell or cloudy appearance, it’s best to drain the tank and replace it with new fuel.
Ignition System Troubleshooting
When it comes to troubleshooting the ignition system, you’ll want to focus on the spark plugs. Here’s what you need to do:
- Remove the spark plugs from the engine
- Inspect them for any signs of wear or damage:
- Look for dark carbon deposits on the plugs
- Check for oil fouling, which indicates oil is entering the combustion chamber
- Examine the electrodes for any signs of wear
- Ensure that the gap spacing between the electrodes is within specifications
Battery and Electrical Checks
If you’re still having trouble starting your mower, it’s time to take a closer look at the battery and electrical system. Here are some checks you can perform:
- Test the battery voltage using a multimeter – it should read 12.6V when fully charged
- Clean any corrosion or dirt from the battery terminals and connections
- Inspect the starter solenoid for proper operation
- Check all safety switches (such as seat switch or blade switch) are functioning correctly
Quick Fix Tips
In addition to these troubleshooting steps, here are some quick fixes you can try:
- Use a fuel stabilizer when storing your mower for long periods of time to prevent stale fuel issues
- Replace spark plugs annually as part of regular maintenance
- Keep your battery charged during off-season periods to ensure it’s ready for use
- Clean or replace air filters monthly during peak mowing season for optimal engine performance
For persistent starting issues even after checking these components, it’s advisable to check the compression readings using a compression gauge. Low compression readings indicate internal engine wear which may require professional attention.
Remember that regular maintenance goes a long way in preventing most starting problems – change oil according to schedule, replace fuel filters seasonally, and always use high-quality fuel with the correct octane rating recommended by Toro.
4. Blade and Spindle Maintenance
Sharp blades and properly functioning spindles are critical components of your Toro stand-on mower’s cutting system. A well-maintained blade delivers clean, precise cuts while reducing strain on your mower’s engine and minimizing grass damage.
Key Signs Your Blades Need Attention:
- Torn or ragged grass tips after cutting
- Uneven cutting heights across the lawn
- Brown patches appearing in freshly cut areas
- Visible nicks, bends, or dents in the blade edges
Spindle Warning Signs:
- Unusual grinding noises during operation
- Excessive deck vibration
- Uneven blade rotation
- Visible grease leakage around spindle housing
You’ll need to inspect your blades after every 25 hours of operation. A simple paper test can help assess blade sharpness – run a piece of paper through the blade’s edge. A clean cut indicates proper sharpness, while tears suggest dulling.
Maintenance Tips:
- Balance your blades after sharpening to prevent vibration
- Replace spindle bearings at the first sign of wear
- Keep spindle housings properly greased
- Check blade bolt tension regularly
- Remove grass buildup from under the deck daily
Damaged or severely worn spindles require immediate replacement to prevent secondary damage to your mower’s deck and engine components. A properly maintained blade and spindle system extends your mower’s lifespan and ensures professional-quality cuts on every job.
5. General Wear and Tear
Your Toro stand-on mower faces daily challenges from weather exposure, terrain variations, and operational stress. These factors contribute to natural deterioration of critical components that require regular attention.
Key Components Requiring Regular Inspection:
- Drive Belts: Check for fraying, cracking, or looseness every 50 operating hours
- Air Filters: Inspect weekly for debris buildup and replace when visibly dirty
- Fuel Filters: Replace every 200 operating hours or if fuel flow appears restricted
- Wheel Bearings: Listen for unusual noises and check for smooth rotation monthly
Signs of Normal Wear:
- Reduced engine performance
- Increased fuel consumption
- Unusual vibrations during operation
- Difficulty maintaining consistent speed
- Strange noises from moving parts
The electrical system also demands attention – inspect wiring harnesses for exposed wires or loose connections. Battery terminals should remain clean and tight to prevent starting issues.
Preventive Maintenance Schedule:
- Daily: Visual inspection of critical components
- Weekly: Clean debris from engine compartment
- Monthly: Grease all fittings and check belt tension
- Quarterly: Complete system inspection including electrical connections
Professional inspection twice yearly helps identify potential issues before they develop into major repairs. Keeping detailed maintenance records allows you to track wear patterns and schedule replacements before component failure occurs.
Conclusion
Your Toro stand-on mower is a valuable investment for your landscaping business. To ensure its longevity and performance, it’s crucial to prioritize regular maintenance checks and timely repairs. By doing so, you can turn potential problems into manageable tasks, ultimately saving both time and money.
Key maintenance practices to remember:
- Schedule weekly inspections of hydraulic systems, tires, and blades
- Keep detailed maintenance records for tracking wear patterns
- Address small issues before they escalate into major repairs
- Stock essential replacement parts for quick fixes
- Build a relationship with a reliable Toro service provider
A well-maintained Toro stand-on mower delivers consistent performance, clean cuts, and reliable operation season after season. By implementing these five essential fixes and maintaining a proactive maintenance schedule, you’ll maximize your mower’s lifespan and protect your investment.
Ready to tackle your Toro mower maintenance? Start with a thorough inspection today and create a maintenance calendar that works for your schedule. Your future self—and your business—will thank you.
FAQs (Frequently Asked Questions)
What are the common hydraulic problems with Toro stand-on mowers?
Common hydraulic problems in Toro stand-on mowers include unusual noises and sluggish performance. These issues often stem from leaks or malfunctioning pumps and motors. Regular maintenance, such as oil changes and filter replacements, can help prevent these problems.
How can I tell if my Toro stand-on mower’s tires need replacing?
Signs that your Toro stand-on mower’s tires need replacing include visible cracks, significant tread loss, and reduced traction during operation. To prolong tire life, ensure proper inflation, rotate the tires regularly, and avoid excessive spinning on wet grass.
What should I do if my Toro stand-on mower won’t start?
If your Toro stand-on mower has starting issues, check for stale fuel and faulty ignition components. Ensure you are using high-quality fuel and keep the fuel system clean. Troubleshooting steps include checking the spark plug condition and testing the battery voltage.
Why is blade and spindle maintenance important for Toro mowers?
Blade and spindle maintenance is crucial for achieving a clean cut with your Toro stand-on mower. Signs that blades or spindles need attention include uneven cutting or excessive vibration during operation. Regular inspection and sharpening of blades can enhance cutting performance.
What causes general wear and tear on Toro stand-on mowers?
General wear and tear on Toro stand-on mowers is caused by regular use over time. Key components that may require periodic inspection or replacement include belts, filters, and bearings. Routine maintenance helps minimize downtime and costly repairs.
How can I maintain my Toro stand-on mower to ensure reliability?
To maintain your Toro stand-on mower for optimal reliability, conduct regular inspections, perform timely fixes for identified issues, and follow recommended practices for each component. Proactive maintenance minimizes downtime and extends the lifespan of your equipment.